By Jared Neibaur
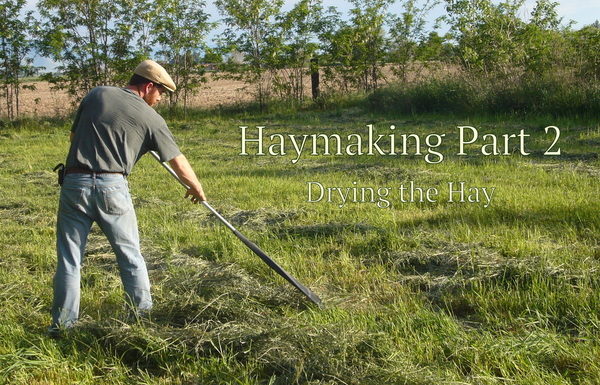
Haymaking is definitely one of my favorite things to do on my little farm. I have enjoyed it since I was young and I enjoy it even more now that I am doing it all by hand. Haymaking has helped me build a closer connection with the world around me. I hope to share a taste of this joy with you as well as sharing the method I use to make hay. The second part of haymaking, (drying the hay) starts after cutting the hay and is just as important as any of the steps in the haymaking process.
Drying the Hay
| Haymaking is essentially food storage for the animals. Any of us who have made or eaten any dried food can understand how the quality of the food changes if the steps aren't done right. Hay is the same way, and although we all know how to eat anything if we are hungry enough, we don't want to do that to the animals in our care. It is also important to note that the hay doesn't necessarily lose edibility as much as it loses nutrition value when it is cut, dried, and/or stored improperly. The bright side is that, in my opinion, hay is much more forgiving to harvest and store than most people food. | 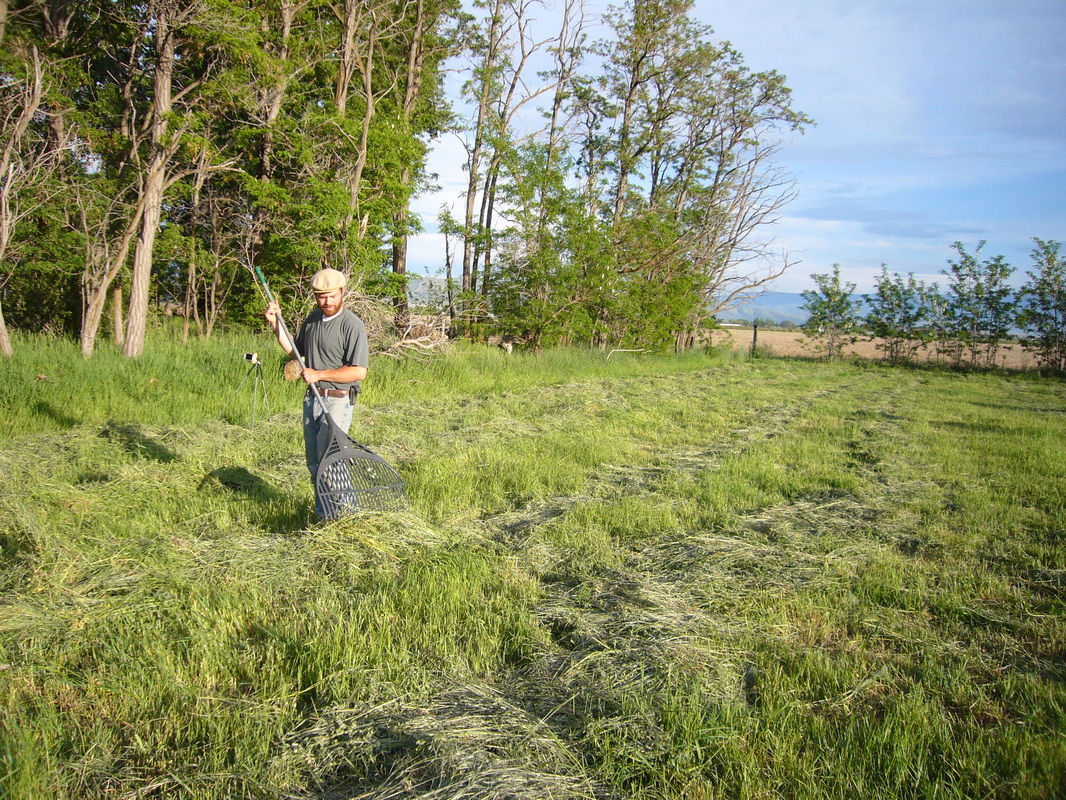 |
The process of drying the hay is relatively simple. It starts as soon as the hay is cut and laid out in windrows. The sun and the hot dry air wick the moisture out of the leaves and stems. Your target goal will be somewhere around 15% moisture though that is hard to measure without special equipment. Keep an eye on the hay as it turns from a vibrant, living, shiny green to a dull lighter green. It is possible to let it sit in the heat and sun too much, causing the hay to lose its nutritional value. You can see this as the hay turns from dull green to straw yellow.
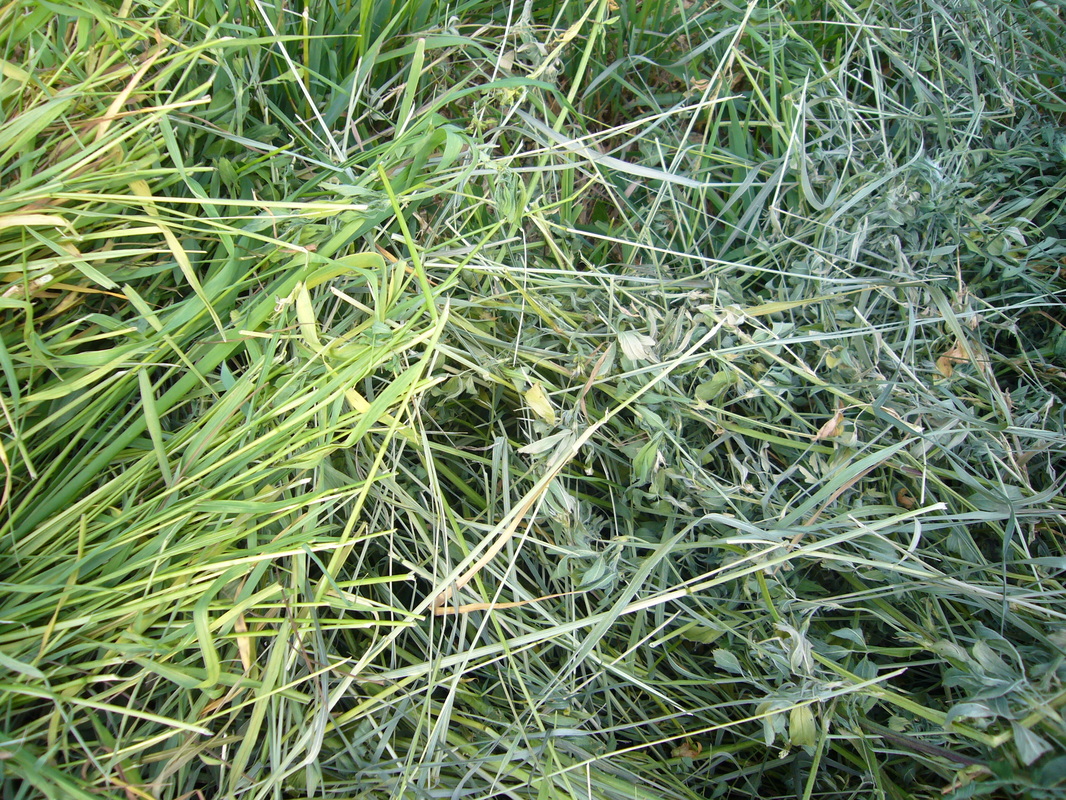 Wet VS. Dry Hay | To let the hay dry properly it needs good air circulation. This usually means that you will have to turn the windrows at least once during the drying time. To determine the time to turn your hay, watch the top of the windrow for the color change that I just described. Go out into the field and check the windrow in multiple places and see how far down the drying process has gone. Don't be surprised to see that the bottom of the windrow will still look fresh cut. You will want to turn the windrow when the top is good and dry but the middle still needs some time and the bottom is still green. Some of the stems my start to show yellowing on the very top and that is ok. |
| There are some great devices out there made to turn hay in a windrow. Because my field is small, I just use a sturdy, light hand rake. I walk either backward or forward along the windrow and pull the hay in a motion that is perpendicular to the windrow. As I go, the windrow will roll over in one motion and lay bottom side up. It is important to be gentle with the hay and not handle it too roughly, especially with alfalfa, or you could lose the leaves from the stems and the leaves hold the most nutrition. Once the windrow is turned over, pray for clear skies until it is time to pick up and stack the hay. | Here is a short video explaining how I turn and dry the hay. |
So What if it Rains?
Rain really hurts the haymaking process, weeks of rain could mean ruined hay that would make great compost. Mostly dry hay will absorb a great deal of water and will have to dry all over again. If the rain comes it pays to tend it closely after the rain storm. As soon as you have dry weather, fluff or turn the windrows to restore good air circulation and turn it again as needed until it is dry.
It is important to note that there are many methods to drying hay out there. Each method is developed because of individual resources, circumstance, and climate. I live in a relatively dry climate, and I have time to dry the hay and a shed to store it under. These factors influence my drying method. Hopefully taking a closer look at my method can help you develop your own.
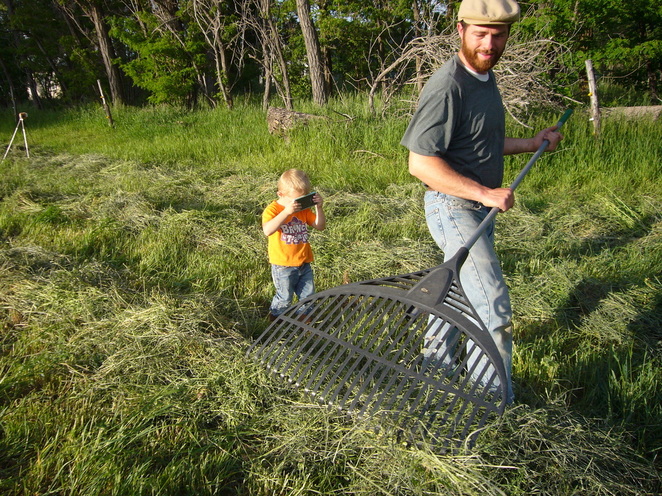
Being followed by the paparazzi, that's how he takes pictures.
 RSS Feed