by Jared
Hugelkultur. What is it? … Well, hugelkultur is a method of raised bed gardening that employs wood and other compostable materials to create an ideal growing environment. Wood is piled on the ground or in a trench and is then covered in dirt or other compostable materials and then a layer of dirt creating a raised bed to plant in. The idea is that the wood will store water and produce heat and nutrients as it decomposes. If it is done right it will reduce or eliminate the need for irrigation and fertilizer. That sounds pretty cool to me.
I first stumbled on hugelkultur a few years ago while I was digging through some old forgotten books on gardening methods. I thought the idea was amazing but I was in transition from place to place and hugel beds have a lifespan of 20 some odd years, and it takes a solid year before the real benefits start. Those facts made it hard for a transient guy to get started so I filed it away until now.
In this post I will talk mostly about what I did to build my own hugelkultur and over time I plan to study how well it works and let you all know the results. Make sure you let your excitement show in the comments below! Also, if you are looking to build one of these yourself, take a look at this awesome website.
What you will need:
Optional things to consider:
- Grab something to dig with, you will be moving a lot of dirt so be prepared. I did it all with a shovel and I have the aching muscles to prove it. If you aren’t into that sort of thing you can use a tractor or skid steer or the likes. If you don’t own one or can’t borrow one, the local equipment rental place is sure to have one but it will be $100-200 a day.
- Something to move material. Again I used my back and a wheelbarrow, but that is the way I roll as you can tell. Depending on the size of your bed it could take a lot of material as you will see in the photos below.
- A lot of wood. Hardwoods do the best and last the longest. If you are using scrap cut lumber, make sure it isn't treated, painted, stained, or varnished.
- Water for the first year to get the system going. This is especially true in a dry climate. If you don’t usually need to irrigate you probably don’t need the water.
Optional things to consider:
- Grass clippings, leaves, straw, hay, weeds, or any other compostable material that you would like to add. I put leaves on top of my wood.
- Rich soil to mix with your soil to start your first year off with a bang. I personally didn’t do that.
- Organic material to use as a mulch to cover your mound at the last step. It is a great idea to help hold moisture the first year, but I didn’t do that either. At least not yet.
- A hatchet or axe for cutting branches to lay straight and flat.
- Nitrogen rich material. Alfalfa, turkey or goose poo, slow release nitrogen fertilizer. Add a frugal amount of these to help feed the organisms that are eating the wood. Don’t overdo it.
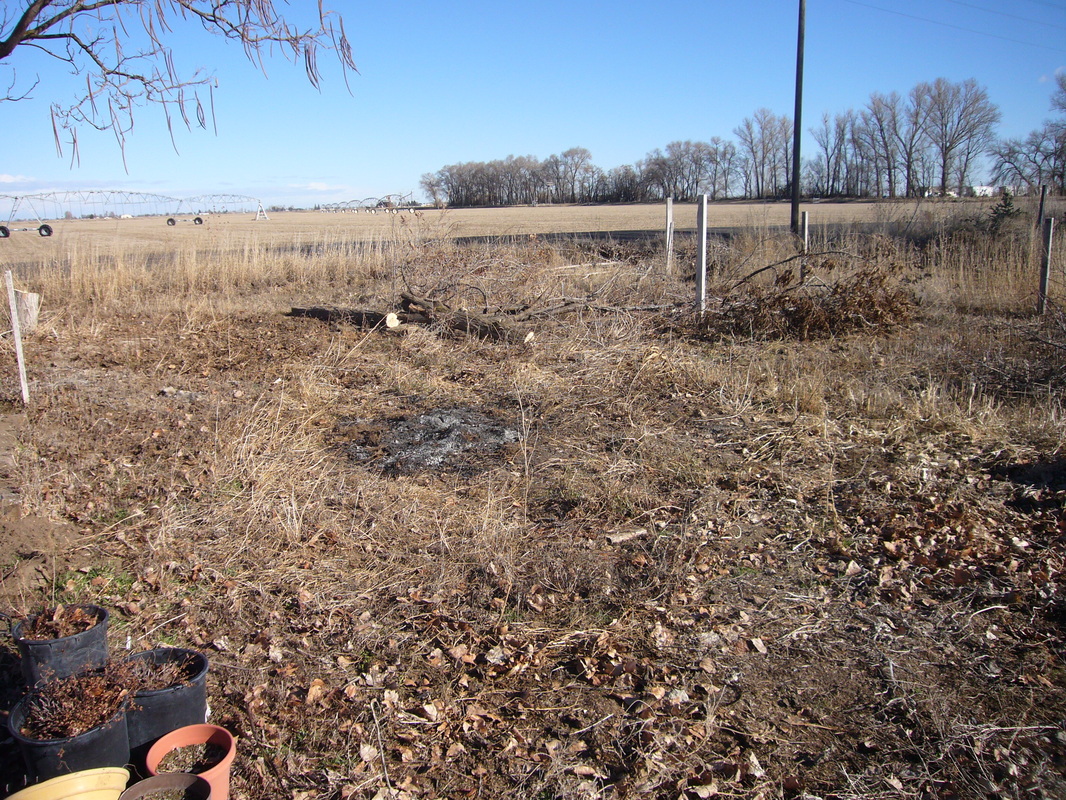
| Pick a Spot Keep in mind that a hugel bed is a pretty permanent structure. All those decomposing tree trunks and so on would make a pretty tough mess to ever try to move if you found out that you put your hugel bed in the way of your bigger dreams. Plan to put it in a spot where it can sit for the next couple decades without being in the way. I chose to put mine next to my perennial fruits and berries. As you can see I have a lot of cleanup work to do overall. |
Design your Bed
There are many different designs and styles to hugelkultur. There are also different circumstances and resources to work with when building your hugel bed. Do you want a tall narrow mound, a short fat mound, or something in-between? Do you have a lot of material to get rid of? Do you want a straight line, a circle, or a square? These are all things to consider before you start. I made mine to be about 4’ wide by 20’ long by 2’ tall.
There are many different designs and styles to hugelkultur. There are also different circumstances and resources to work with when building your hugel bed. Do you want a tall narrow mound, a short fat mound, or something in-between? Do you have a lot of material to get rid of? Do you want a straight line, a circle, or a square? These are all things to consider before you start. I made mine to be about 4’ wide by 20’ long by 2’ tall.
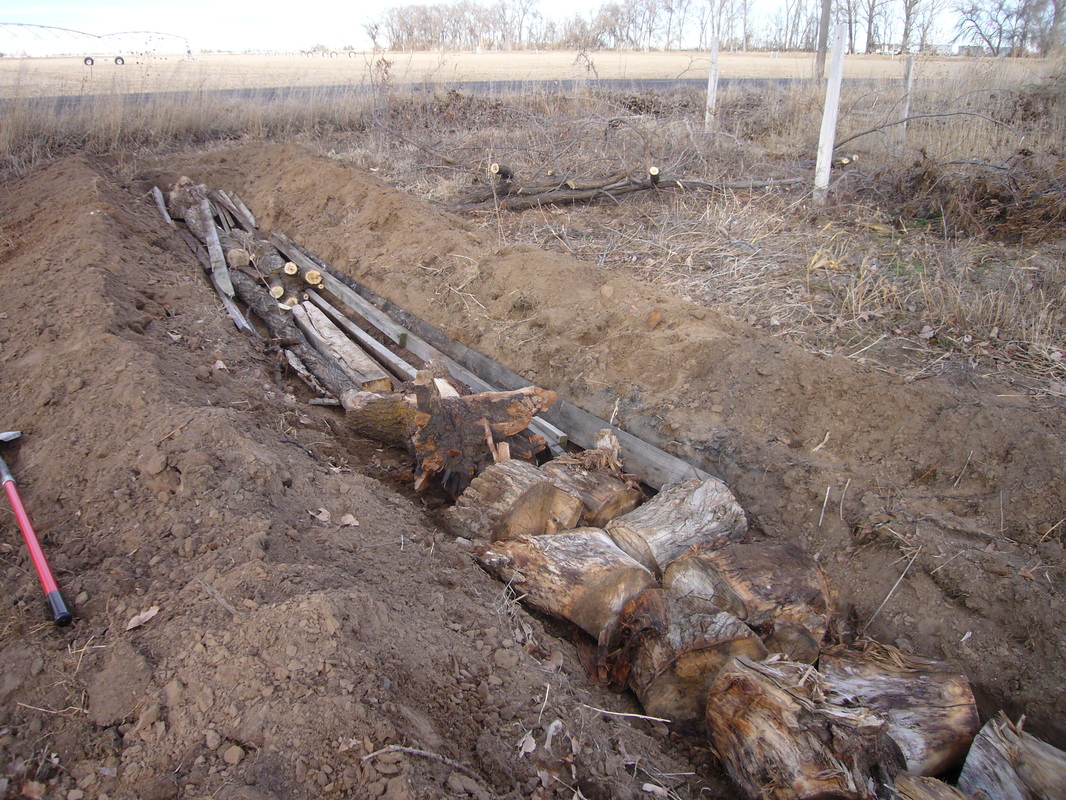
| | Start to Dig, or Not I wanted to add a lot of wood, but I didn’t want to have a really tall mound. I also didn’t want to move a lot of dirt from surrounding areas. so I chose to dig a trench as a base for my bed. You may want to start yours on top of the ground. As you can see from the pictures, I started by breaking up the topsoil and piling it on each side of the bed. I tried to set it so I could put it back on top of the bed later. Keep in mind that if you are cutting through sod you should set it aside separately. You will place it back on the pile, roots up, before you add your final layer of dirt. I then dug deeper with a second pass. My soil still looked good as I went down. If you find that the soil isn’t so nutrient rich you may want to stop digging. Or make sure the best soil stays on top when you put it all back on. |
| Bring in the Big Logs I then added my big logs at the bottom of the trench. Because the plants I will plant grow from the top of the bed down, I want to put the stuff that is the slowest to decompose on bottom. Over the years the top layers will sink into the bottom layers and then those big logs will come in handy. You can see from the pictures that I had all sorts of logs and stumps to choose from. I tried to pack them in as tight as I could but I didn’t worry too much about those cracks I couldn’t take care of because, later on, I packed some of my other material in. |
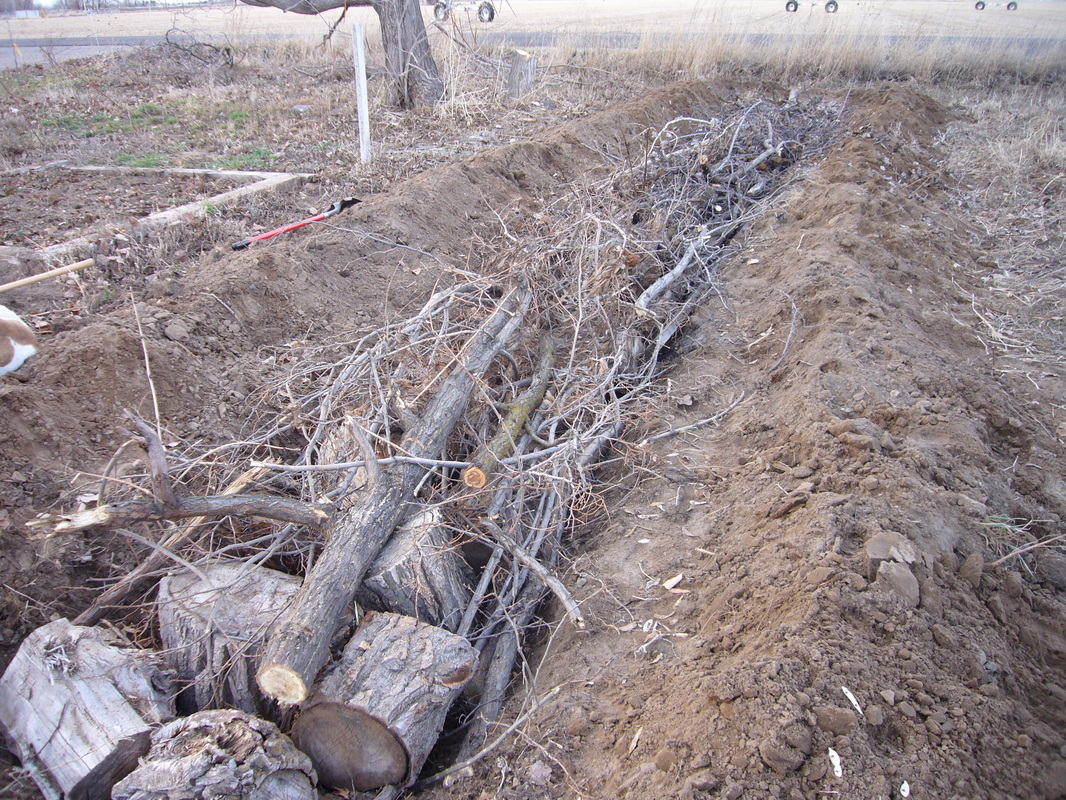
| Pile on the Small Branches I saved the small branches to put on top of the logs. I found out that it takes a lot of breaking and special stacking to get the branches I used to fit. Granted I was using a lot of catalpa and apricot wood and those branches are known for growing in all directions. I used my hatchet to tame the craziest branches so they would all lay relatively flat. You will see that I only had relative success. |
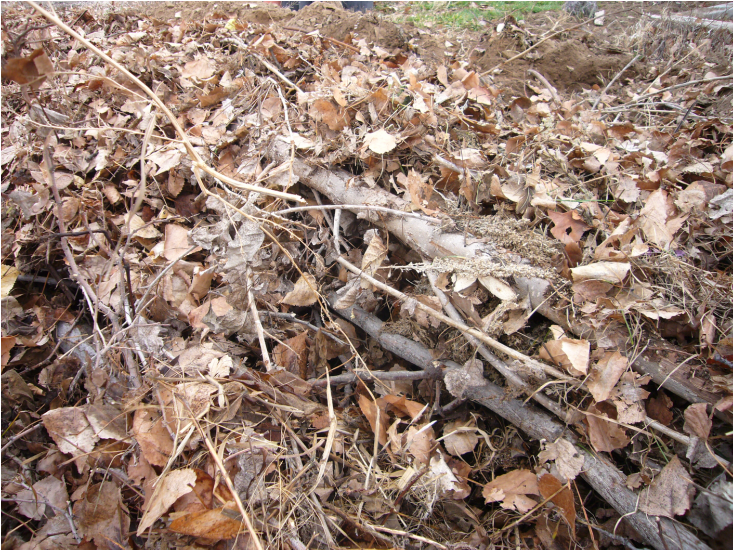
| Add the Other Organic Matter Remember that this part is optional, but where I have lots of trees and leaves on my property I decided that it would be a good idea to hide some leaves in my hugel bed to see if this will be a good way to get rid of them in years to come. This is where I tried to pack the cracks and spaces. I was considering my compost pile as I did this and was thinking about that delicate balance of air and moisture and food for the organism doing the work. So when I packed it in I tried to leave some space for air to flow. Granted, my compost pile is meant to work much faster than this hugel bed, and that is why I tend it and turn it often, but maybe these steps will get this off to a good start this first year. I piled all the leaves in a way that looked good to me. It surprised me exactly how much wood and leaves this hugel bed actually took. It is important to note that I mixed some nitrogen rich material in with the leaves. I know that the organisms that eat wood use nitrogen and could suck up too much of it, so I thought it may not be | |
Let it Rain
Before topping it off with dirt I added some water. My material was very dry. In some climates you could skip this step for sure but I felt like my hugel bed needed it. Keep in mind that you can overdo it. The amount of moisture will effect the process in which everything breaks down. I just made sure everything was moist and not desert dry.
Before topping it off with dirt I added some water. My material was very dry. In some climates you could skip this step for sure but I felt like my hugel bed needed it. Keep in mind that you can overdo it. The amount of moisture will effect the process in which everything breaks down. I just made sure everything was moist and not desert dry.
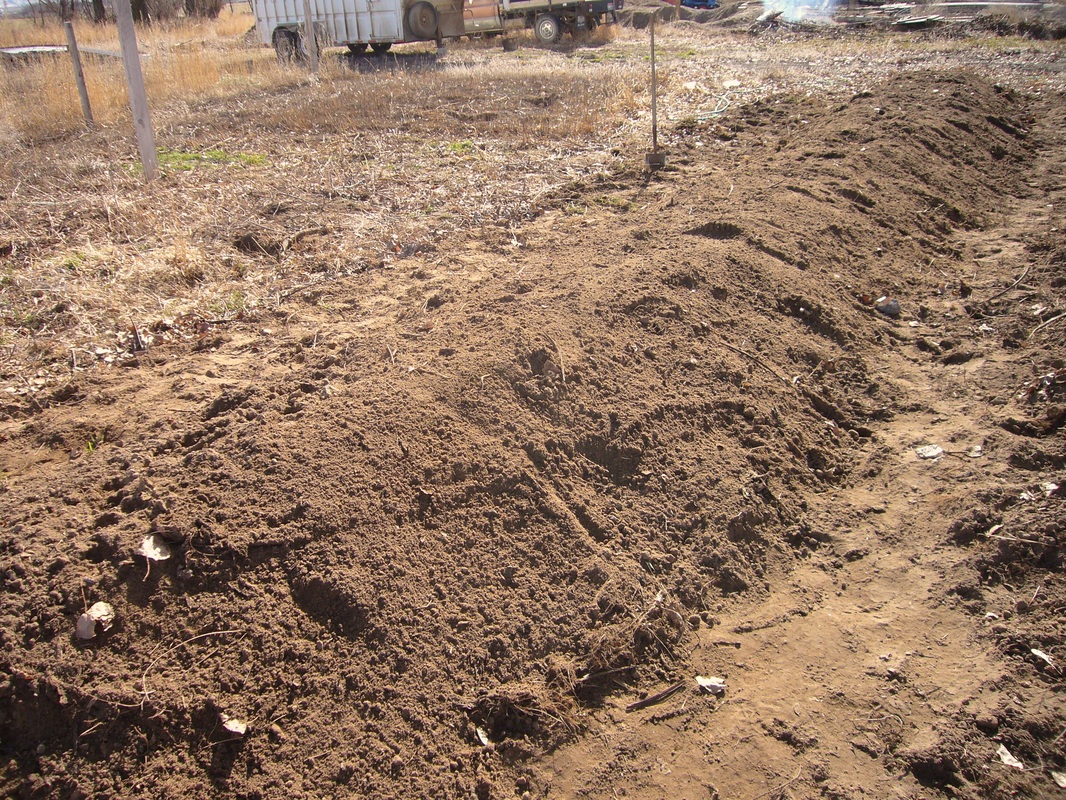
| Top it Off This is where I put the dirt back on top! And really, at this point, I was excited to get it done. As I mentioned before, the dirt that I dug out of my trench looked great to put back on top. For me it was just a matter of moving it back. You want to make sure that there is a good few inches of dirt on top of your organic material. It will be a while before it becomes that rich compost you would want to plant in. Having a good layer of dirt will help you get off to a good start the very first year. If you did put sod to the side, make sure you put it on the pile root side up then cover it with a good layer of soil so the grass doesn’t grow and take over. If you do it right, sod will be a great thing to add to your hugelkultur. I have seen a lot of people add a mulch of long dry grass or other stemmy plants to suppress weeds and retain water. I chose not to do that but it is a viable option in a lot of applications, especially if you want to plant perennials on it and walk away. |
Enjoy
I am looking forward to testing this out starting in the spring. I have high hopes and visions of reducing water and having a little more protection from those surprise frosts. I’ll post again later in the year to let you all know how it is going.
I would like to hear your feedback. Do you have your own hugelkultur? I invite you to share your experience about this, or anything, in the comments below.
 RSS Feed